
The art of sourdough has grown exponentially in the last two years. Making a sourdough starter is easy and fun! There are so many health benefits and nothing beats fresh-out-of-the oven bread. There has been so much education and chatter about the benefits of sourdough lately, and I am so excited to share more with you about the process of maintaining and keeping a sourdough starter.


This post contains affiliate links, which means I make a small commission at no extra cost to you.
What is Sourdough?
Sourdough is one of the oldest forms of leavening bread. The flour and grains are fermented over time creating the perfect environment for wild yeast to develop. It is simply a combination of flour and warm water- that’s it! People are usually so surprised by this, but it is actually a really fascinating process. Instead of using commercialized yeast packets to help the bread rise, you use beautiful, rich fermented flour that contains a natural form of yeast and good bacteria.
So- how do you make this sourdough starter?
Starter Supplies
I will start right off the bat with an excellent resource- Tessa Weaver’s Sourdough at Home course. Tessa’s course changed everything for me in 2020, and I can honestly say that it was a gateway into the slower life that we are living today. She has an excellent course on how to make sourdough with all of the perfect ratios, and I cannot recommend it enough!
With the talk of all of this fermented bread, so many people wonder about the process of actually making it! And I will let you in on a little secret- it’s not all that hard. It just takes a lot of practice, and after a few weeks, you will be well on your way to making this bread too.
I will not be posting a sourdough loaf recipe on this blog, but will always redirect to Tessa’s course because it is so good, and the video aspects are so helpful too. It is well worth it to grab her course if you are interested in making sourdough bread.
The basics of it involve a simple one-to-one ratio of flour and water. That’s it! You can use so many different forms of flour, it is fun to experiment! Here are a few supplies you need before you start your sourdough starter.
- Food Scale – this bamboo one is so pretty! But, any scale will work.
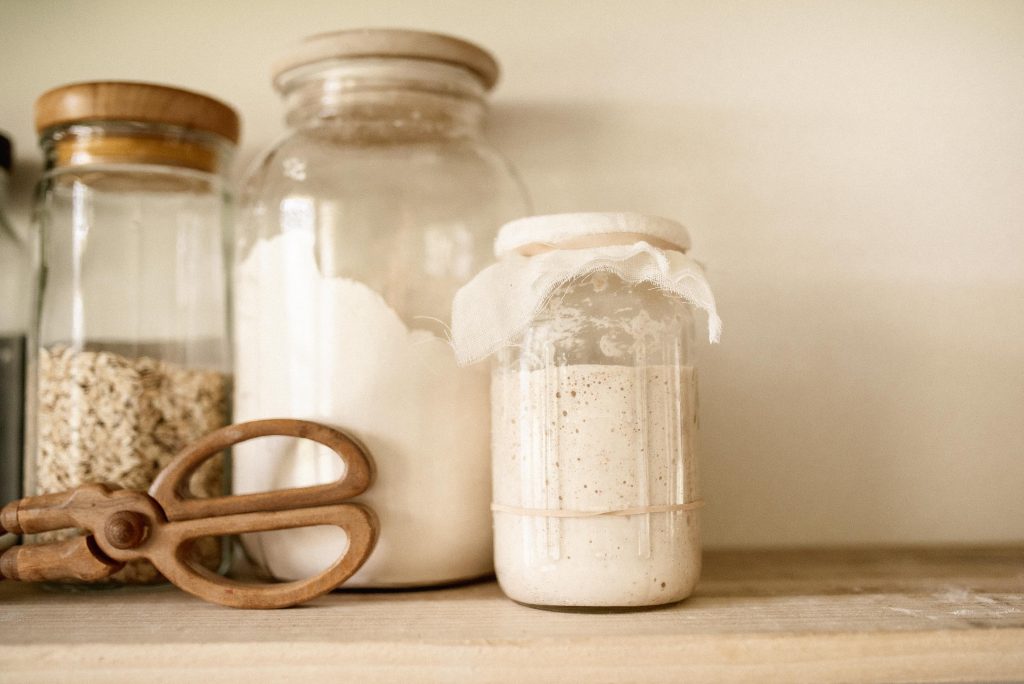
- Glass Jar– these Weck Jars are so nice and smooth on the inside
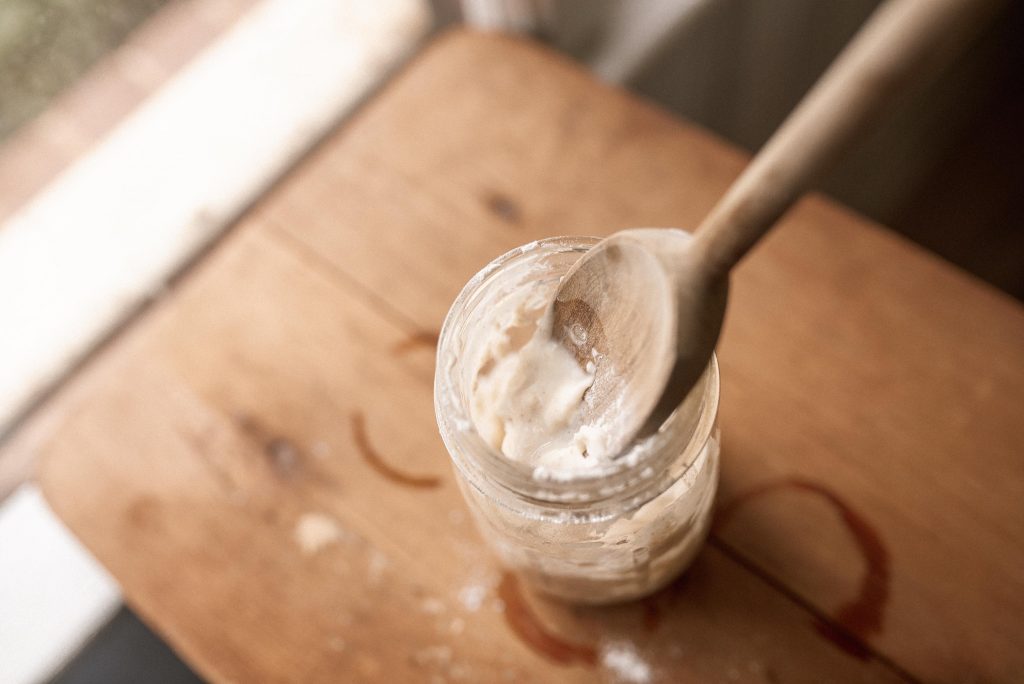
- Spatula
- Cheese Cloth
- Kitchen Thermometer– This is for accurate water temperature!
- Rubber Bands
- All Purpose or Bread Flour (my favorites are King Arthur and Bob’s Red Mill)
- Whole Wheat Flour (my favorite is King Arthur)
- Water
- A good loaf bread recipe- Tessa’s Sourdough at Home or Mary from Our Kin and Home has a free Artisan Sourdough Recipe !
Process for a Sourdough Starter
It should take about 5-7 days to get an active starter! Here is a full explanation and photos to help you get started. Also note- metal will interfere with the fermentation process- never use metal spoons or bowls in prepping your starter.
Day ONE
Take your jar and set it on the food scale, turn it on, and set the scale to “0”

Add 75g of All Purpose Flour
Add 25g of Whole Wheat Flour (the scale should now read “100”)
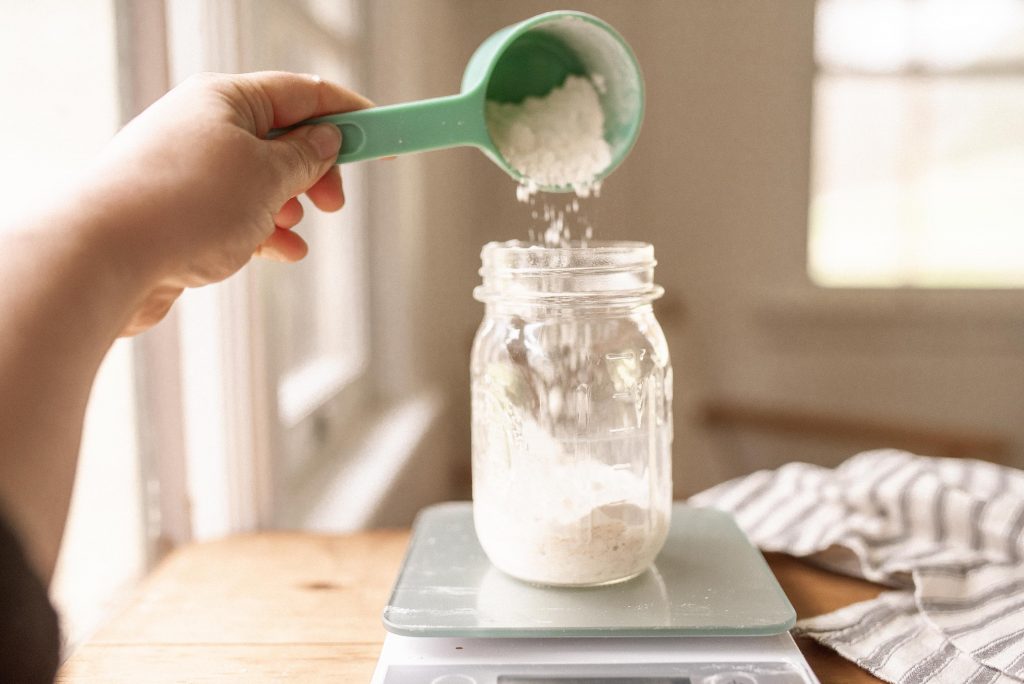
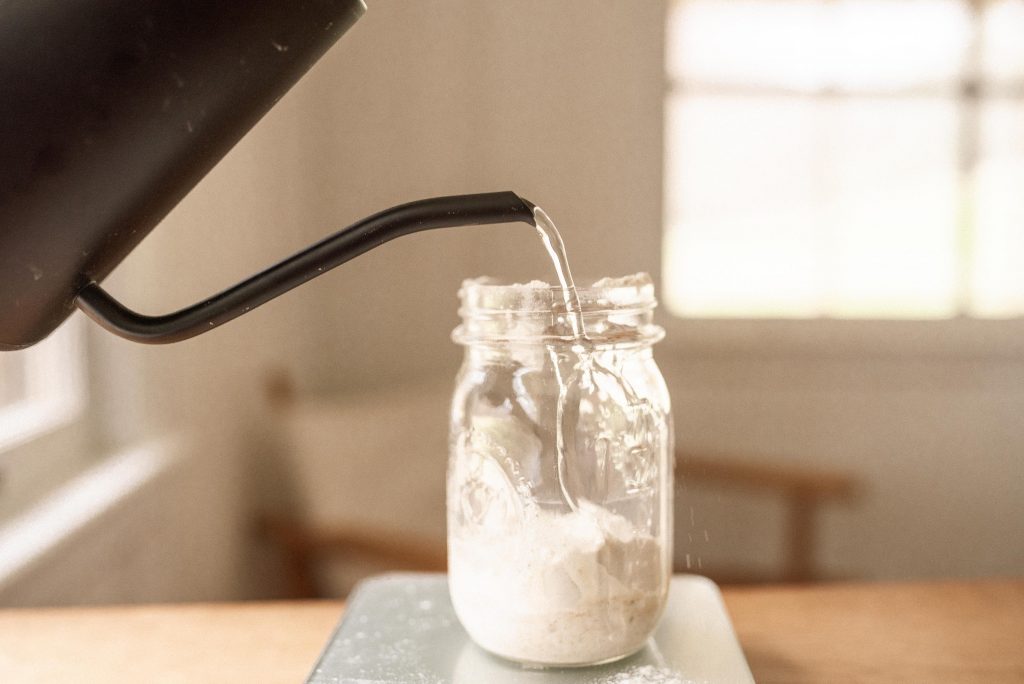
Reset the scale to “0”, and then add 100g of 85-90*F water- Mix this together.
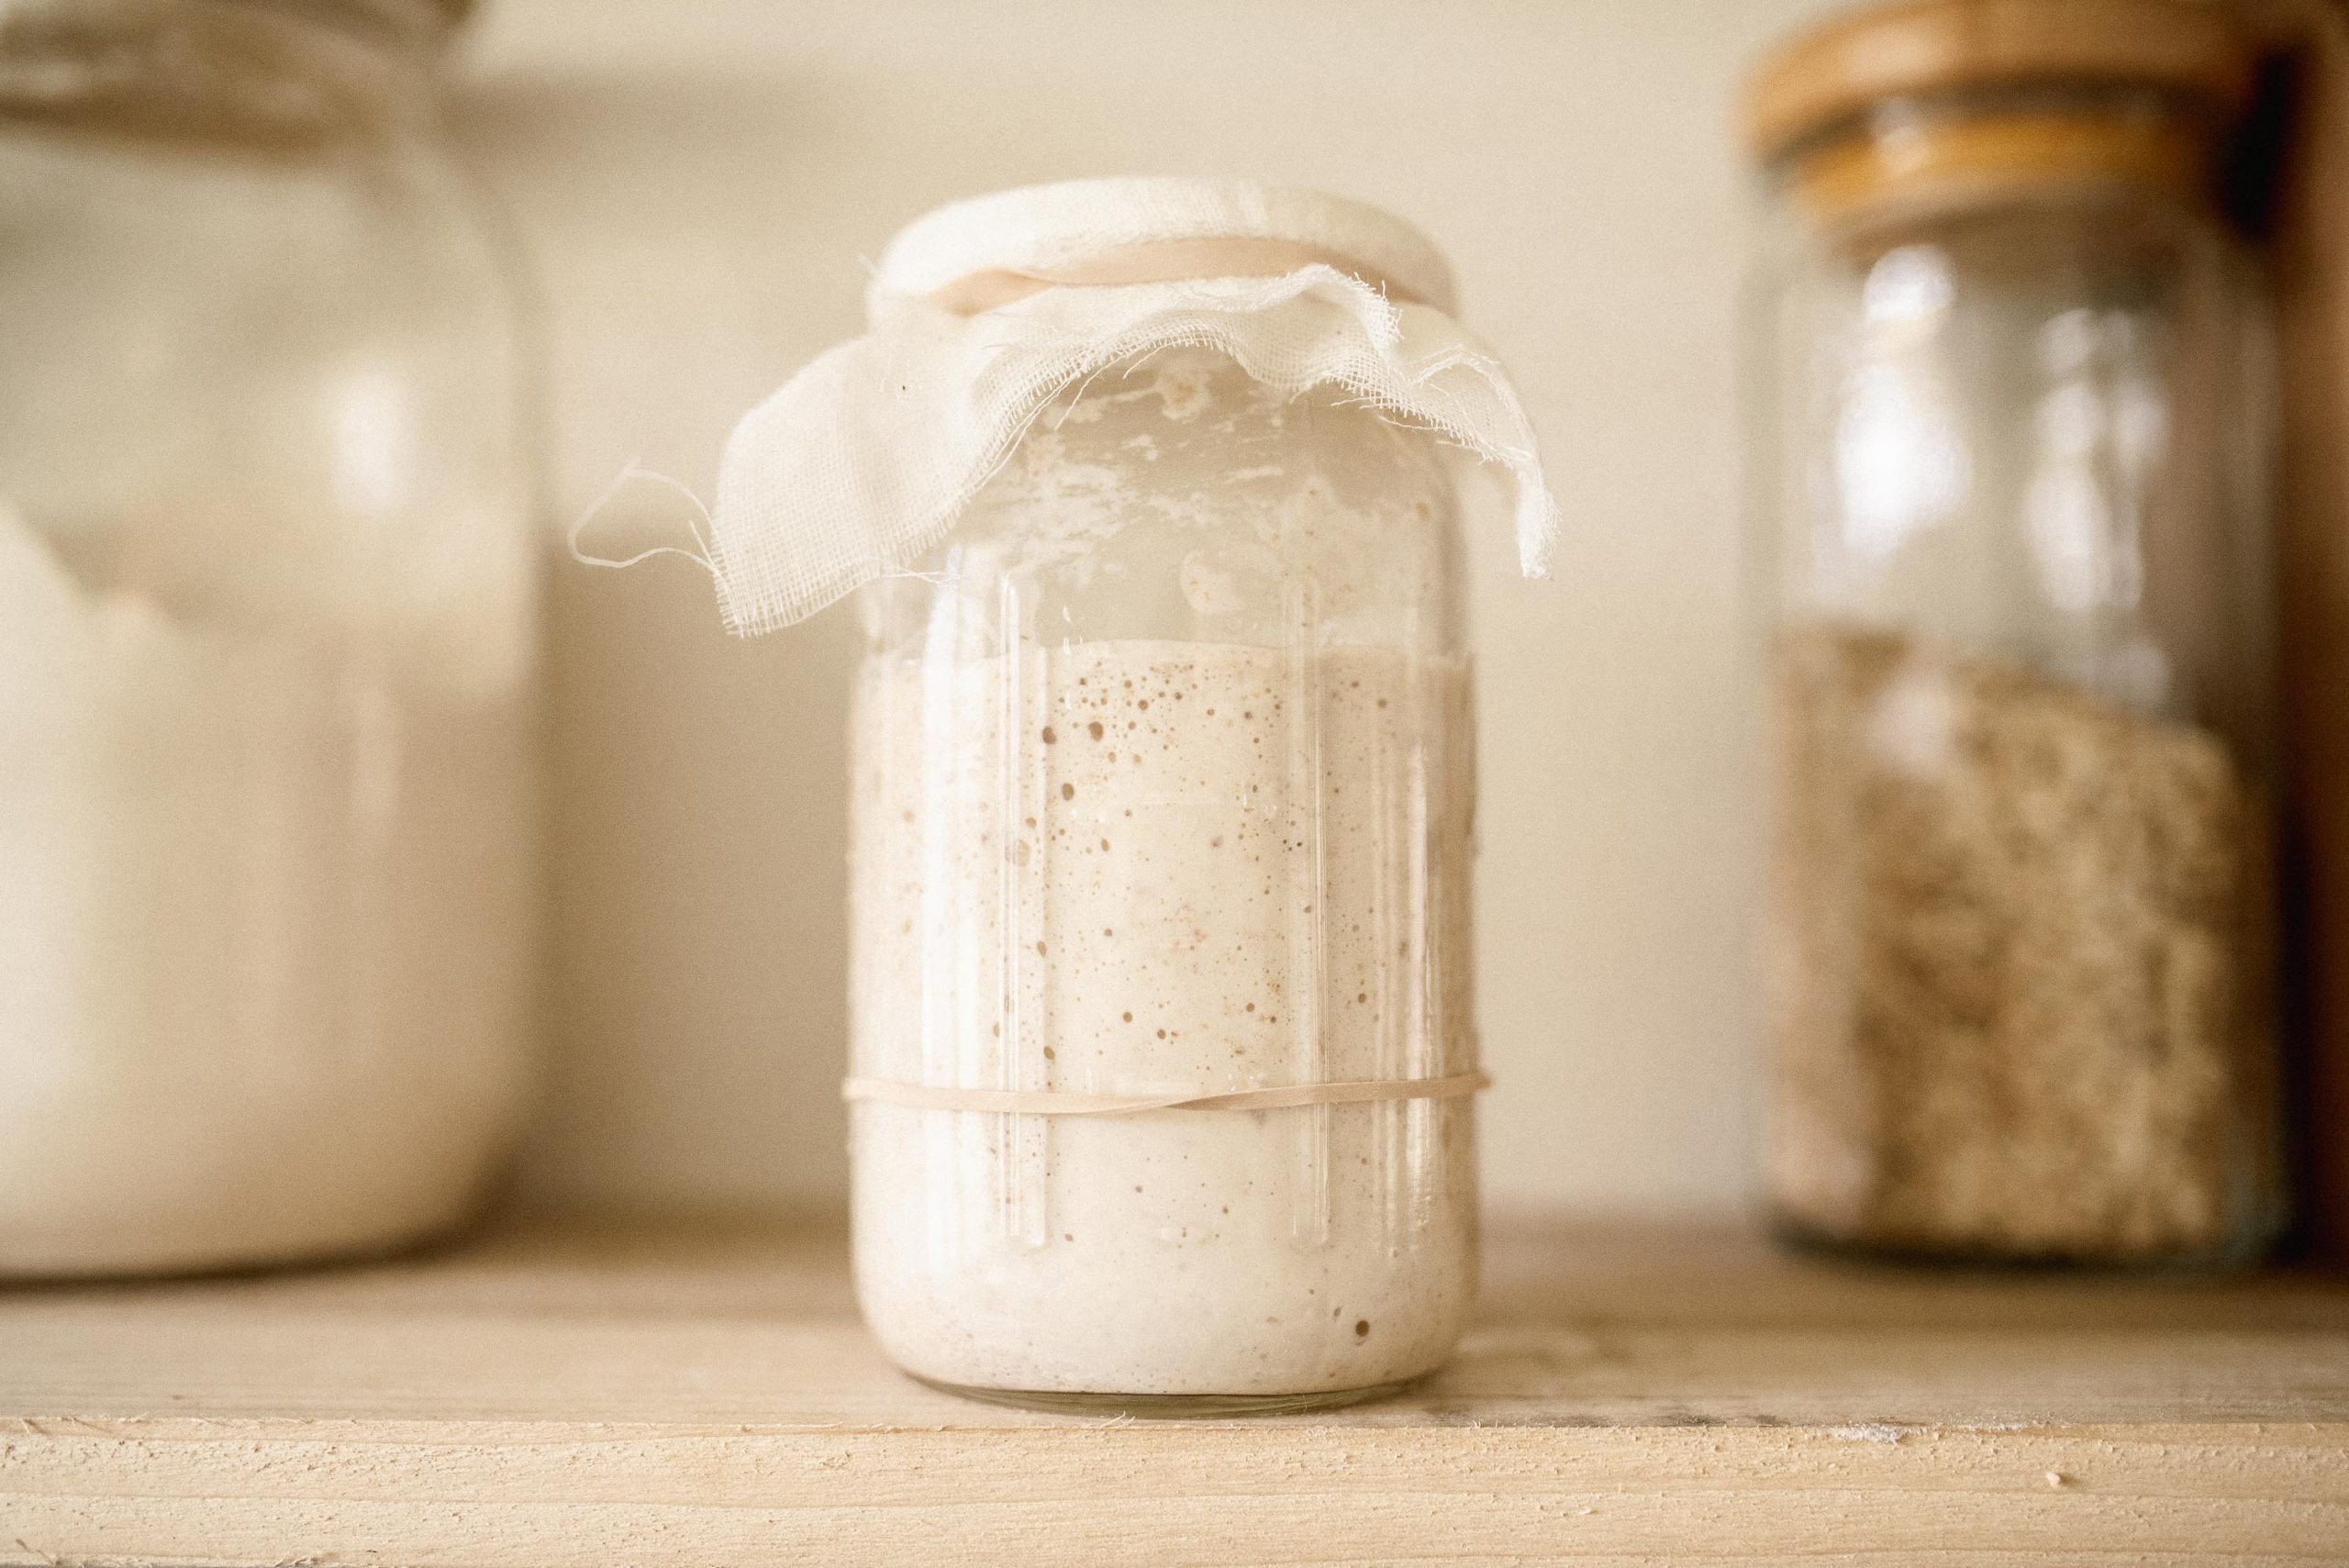
Place a rubber band around the jar at the top of the flour/water mixture line- this will be your marking to check for growth over the next few days. (photo below shows how it will rise above that band if it is active!)

Place Cheesecloth on top of the open jar with rubber band, and let it set in a dry, warm place (in a pantry, on the counter near sunshine, etc).
Day TWO (24 hours later)
Take jar and scoop out half of the mixture (with a spatula or wooden spoon- not anything metal).
To the mixture, add the flour and water and repeat the steps above, zeroing the scale when you place the jar with half mixture (starter) in it.
Make sure you move your rubber band up the jar to the top of the mixture line as it will be a little bit higher with the added mixture from the previous day.
Day THREE-FIVE
Same instructions as Day 2.
Day SIX
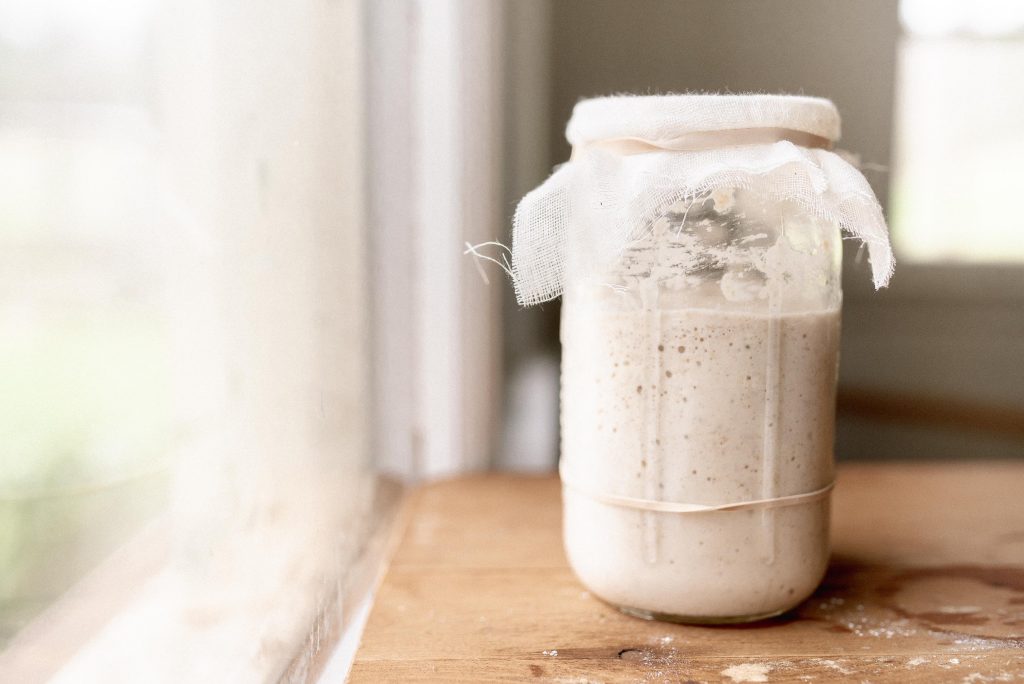
By this point- hopefully you will notice some bubbling and growth after about 8-12 hours of feeding your starter the flour and water! If it has totally doubled in size over the rubberband marker- your starter is probably active! If not, just follow the next steps.
By day 6-7 you could possibly start more frequent feedings to strengthen your starter if it needs a boost. You could feed it the 100g ratio of flour/water in 12 hour increments (for example: feed it at 8am and then again at 8pm) Also, things like the season could be affecting growth- wintertime is a harder time to get your starter going due to the cooler temperatures of the house. Make sure your water is warm enough, and just keep feeding it- you should see a doubled starter by day 6 or 7. If it has doubled- it is considered active! Try the next step to do a float test before using it for a loaf.
Take a bowl and fill it with water. Take a scoop out of your active starter and place it in the water. If it floats- you are ready to use it! If it sinks- it is not quite ready yet.
Maintaining Your Sourdough Starter
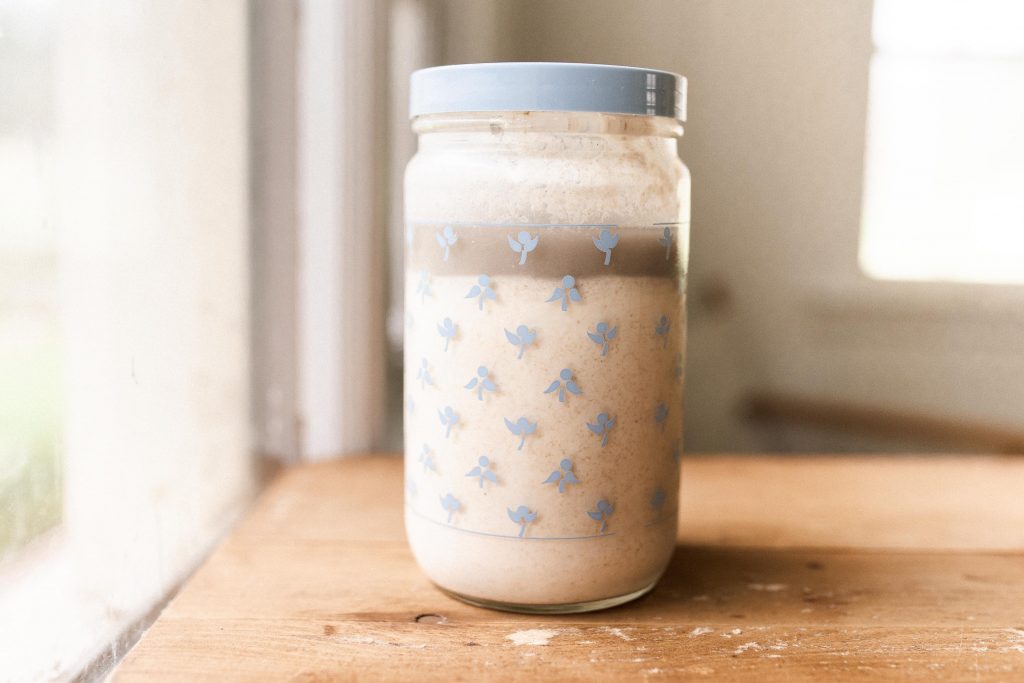
To maintain your starter and keep it active, it will need to be fed that 1:1 flour/water ratio every 24 hours. If you make a loaf and plan to make another the following week- just pop a lid on your jar and stick it in the fridge. I usually feed my fridge jar at least every 2 weeks. If you ever notice that it has a gray liquid on top, it just means it is hungry and you will need to feed it soon (see photo below!). Just pour the liquid into the trash and discard what you need to, then feed. The longer you let it sit in the fridge, it might need a day or two of feedings to revive again. To use a starter from the fridge, let it sit on the counter overnight, and feed it in the morning!
In my blog, you will hear me refer to “sourdough discard”. This is simply just the excess starter that you would normally discard into the trash before feeding your starter. An active starter can be used for all sorts of baking! This is where it gets fun.
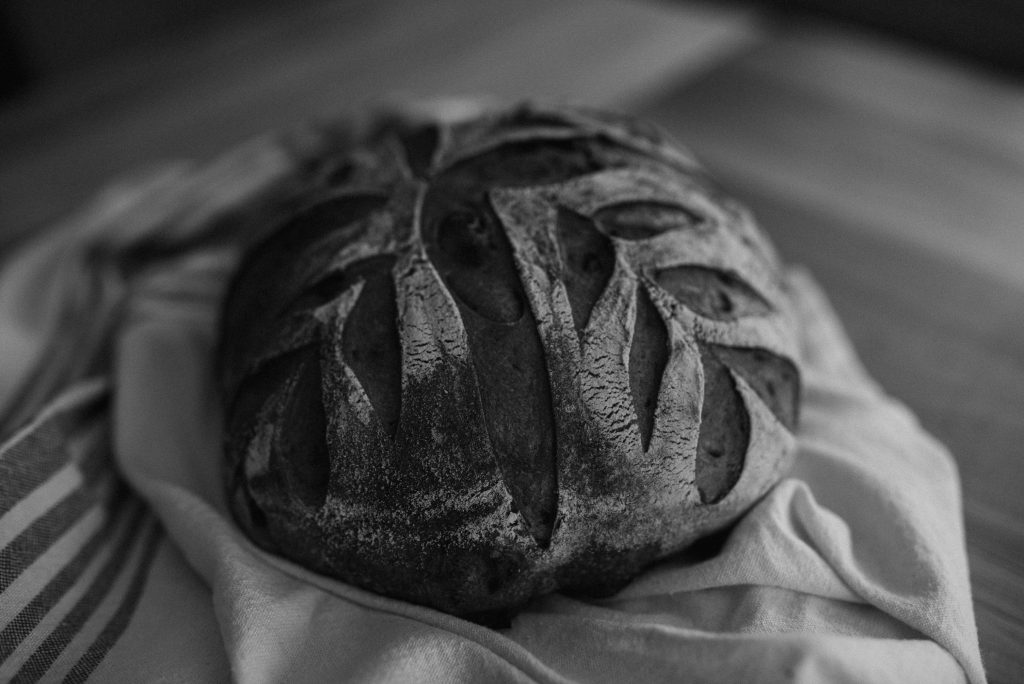
Time to Bake!
And there you are- the steps to a perfect sourdough starter. Once you have an active starter, you will use it in recipes to make loaves of bread AND so many other delicious baked goods. I will continue to post sourdough discard recipes- so keep an eye out for those! One recipe you can try with your active discard is my Sourdough Pancake Recipe!
Comment below if you start your journey with this recipe, or if you have any questions! I can’t wait to come along side you as you start.
Making a Sourdough Starter
Artisan Sourdough Starter
A simple, easy way to get your sourdough journey started!
Ingredients
- 100g of 85-90*F water
- 75g of All Purpose or Bread Flour
- 25g of Whole Wheat Flour
Instructions
Day ONE
- Take your jar and set it on the food scale, turn it on, and set the scale to "0"
- Add 75g of All Purpose Flour
- Add 25g of Whole Wheat Flour (the scale should now read "100")
- Reset the scale to "0", and then add 100g of 85-90*F water- Mix this together.
- Place a rubberband around the jar at the top of the flour/water mixture line- this will be your marking to check for growth over the next few days.
- Place Cheesecloth on top of the open jar with rubberband, and let it set in a dry, warm place (in a pantry, on the counter near sunshine, etc).
- See blog post for photos!
Day TWO (24 hours later)
- Take jar and scoop out half of the mixture (with a rubber spatula! not anything metal)
- To the mixture, add the flour and water and repeat the steps above, zeroing the scale when you place the jar with half mixture (starter) in it.
- Make sure you move your rubberband up the jar to the top of the mixture line as it will be a little bit higher with the added mixture from the previous day.
Day THREE-FIVE
- Same instructions as Day 2.
Day SIX
- By this point- hopefully you will notice some bubbling and growth after about 8-12 hours of feeding your starter the flour and water! If it has totally doubled in size over the rubberband marker- your starter is probably active! If not, just follow the next steps.
- By day 6-7 you could possibly start more frequent feedings to strengthen your starter if it needs a boost. You could feed it the 100g ratio of flour/water in 12 hour increments (for example: feed it at 8am and then again at 8pm) Also, things like the season could be affecting growth- wintertime is a harder time to get your starter going due to the cooler temperatures of the house. Make sure your water is warm enough, and just keep feeding it- you should see a doubled starter by day 6 or 7. If it has doubled- it is considered active! Try the next step to do a float test before using it for a loaf.
- Take a bowl and fill it with water. Take a scoop out of your active starter and place it in the water. If it floats- you are ready to use it! If it sinks- it is not quite ready yet.

Leave a Reply