

Fresh, flaky garlic chive sourdough biscuits are one of my most favorite additions to a homemade dinner on the farm. These biscuits are so amazing. I cannot say it enough, so I will cut to the chase and let you in on my secrets for the most perfect biscuit.
Our summer garden is starting to get fuller and more beautiful each day! I hand water our vegetable garden beds each morning, and the process is so therapeutic to me. Last year, I didn’t grow any herbs in my garden. I quickly regretted this, and swore that I would have a bountiful herb garden this coming season.
I ended up purchasing most of my herbs as plant starts, as I ran out of time to start them from seed. The biggest thing for me was to just have them. And they are starting to take off in my little container garden that I have them in. My pot of chives is doing particularly well, and I decided to test them in some homemade biscuits! I did not regret that decision.
Having herbs in your garden is fantastic for the kitchen and for pest control out in the garden. It is truly a win-win. They are so fresh and will compliment so many of the veggies that are growing in your garden! I personally have kept mine in pots and created a container garden in the area that my raised beds are. It looks so beautiful! Having them in pots helps keep them contained- some herbs like mint are very invasive and can grow extremely quickly!

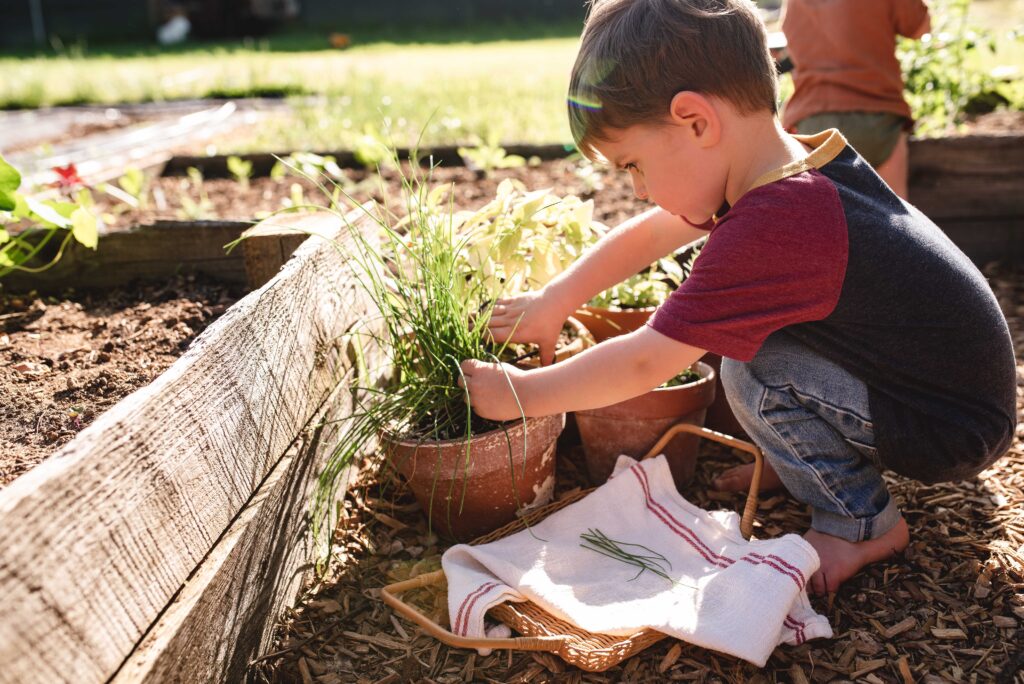
With the herbs out in the garden area, they are also an easy thing to ask my kids to help me water. My son is almost 3 and loves to be out in the garden. He still needs lots of assistance and direction, but he is slowly catching on to how everything works by watching me work out there. I am excited for him to learn how to grow and take care of our vegetables and herbs!


When you involve your kids, they really take on that role and feel important. He also values the end product so much more than if I didn’t ever let him help. Mid-summer I will often find him out behind a tomato bush snacking on fresh red cherry tomatoes! He is learning so much by helping me and observing the process.
When I started these garlic chive sourdough biscuits, I knew that he would be more than willing to help me grab some herbs for the recipe. He was delighted when I gave him a pair of scissors to help cut the chives. He gave the plant a good haircut, but I was proud of him for trying! And the best part is, it will all grow back.
We are growing fresh garlic in our garden right now, but it won’t be ready for another few weeks! So, I just used some cloves that I had on hand. I can’t wait to make this recipe again with our farm fresh garlic here in a few weeks!
After you grab some fresh herbs, it’s time to start your biscuits! Feel free to get creative and try other combinations of herbs that you have on hand. A rosemary parmesan or lemon thyme biscuit sounds absolutely divine! Ok, here is the recipe you’ve been waiting for.
Garlic Chive Sourdough Biscuits Recipe
- 2 cups all purpose flour
- 2 tsp baking powder
- 1 tsp salt
- 125 g of cold butter (a little more than 1/2 cup)
- 1 cup of sourdough starter
- 1/2 cup of half+half (1/4c heavy cream, 1/4c milk) or buttermilk
- 2-3 tbsp of chives
- 3-5 garlic cloves
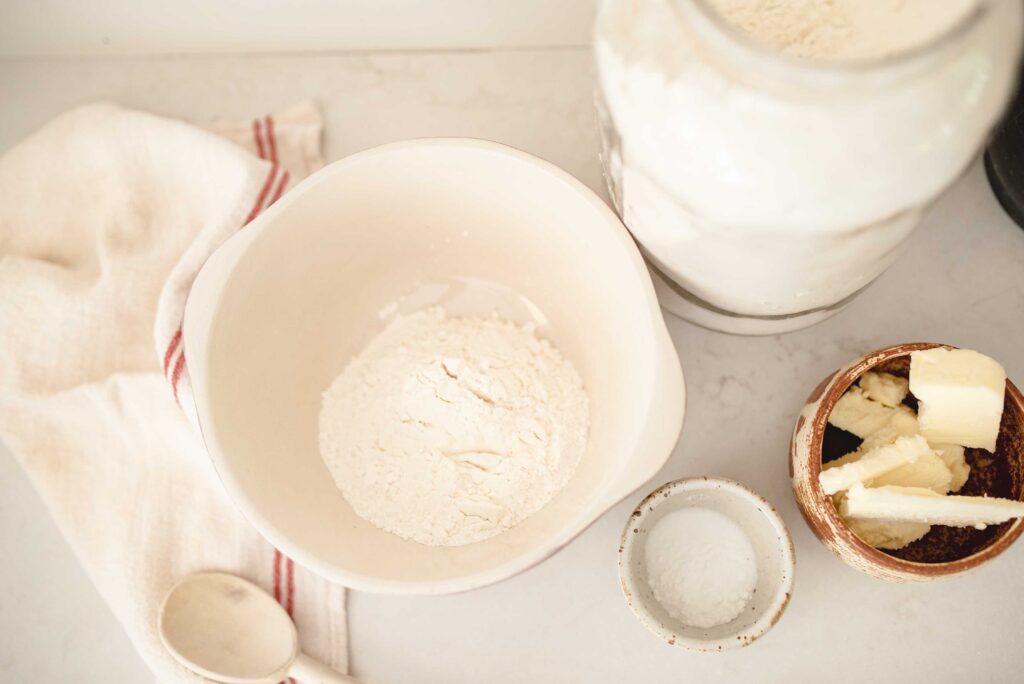
The first step will be to mix the flour, baking powder, and salt together in a bowl. Then, grab a pastry cutter (or cheese grater), and cut the butter into the flour mixture (or grate it!). The key for flaky biscuits is to have the butter VERY cold and to keep it chilled.

Mix and cut it all in until the mixture is crumbly and pebble looking. Then, take your starter, half-and-half (or buttermilk) and fresh herbs and garlic and place into the center of the bowl. Mix it all up until it looks like this! Try not to over-stir it or knead it, being gentle will help produce that flaky biscuit texture. Add a little bit more milk if things are still dry and crumbly.

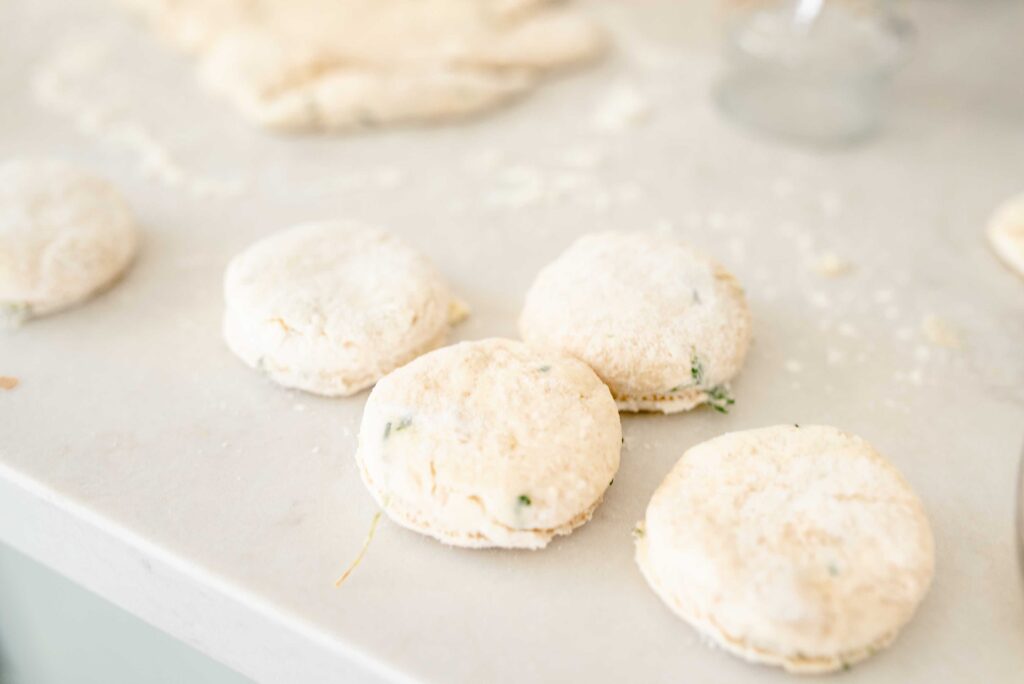
After you have it all mixed up, now it is time to roll it out and cut into biscuits! Take a rolling pin and a lightly floured surface, and roll out your biscuit dough. Then, take a small glass and cut out the circles for your biscuits. I used a small juice glass, but you can use whatever you have on hand. I rolled mine out to about a 1/2in- 1 inch thick. It can be that or less, totally up to you! Too much thicker would just mean they would take longer to bake.

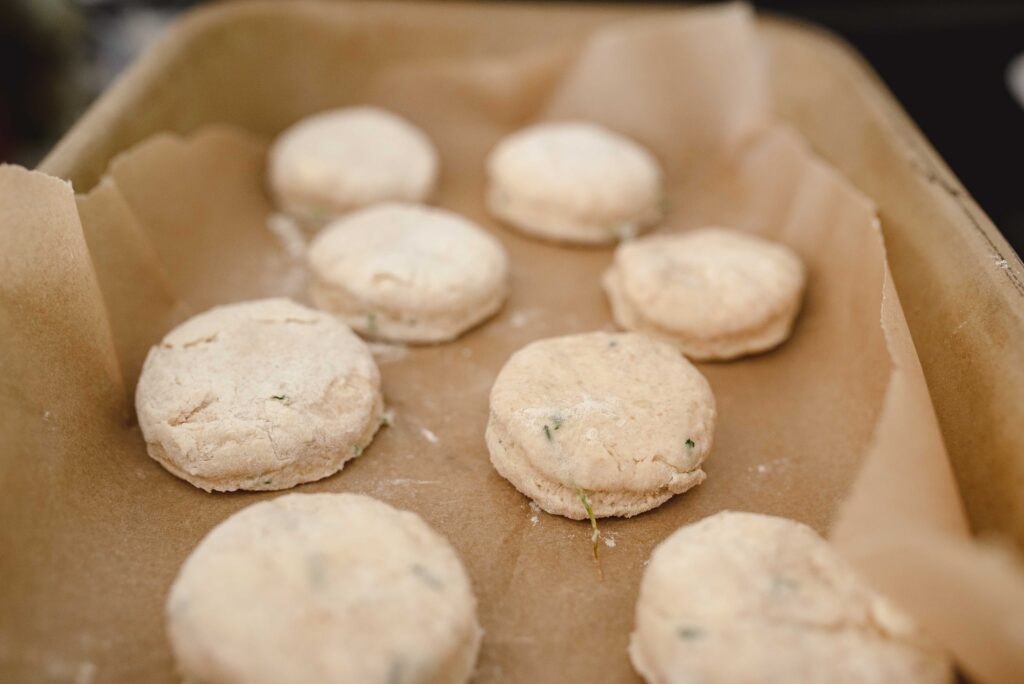
After you do that, throw them onto a parchment lined baking sheet and put them in the oven for 16-18 minutes, or until golden brown.
They are absolutely delicious, and I this recipe has turned into my go-to for a quick morning biscuit! I love that I can start these, throw them in the oven, and have them done in 30 minutes. No time needed for rising or waiting! These are a staple for a fun breakfast addition, and I can’t wait to try variations of these all summer with various herbs from the garden! What would you put into your biscuits? Let me know if you try these!


Garlic Chive Sourdough Biscuits
Flakey, buttery sourdough biscuits straight out of the oven with hints of your backyard garden
Ingredients
- 2 cups all purpose flour
- 2 tsp baking powder
- 1 tsp salt
- 125 g of cold butter (a little more than 1/2 cup)
- 1 cup of sourdough starter
- 1/2 cup of half+half (1/4c heavy cream, 1/4c milk) or buttermilk
- 2-3 tbsp of chives
- 3-5 garlic cloves
- Pastry Cutter
Instructions
- Preheat your oven to 425*F.
- Mix the flour, baking powder, and salt together in a bowl. Then, grab a pastry cutter (or cheese grater), and cut the butter into the flour mixture (or grate it!). The key for flaky biscuits is to have the butter VERY cold and to keep it chilled.
- Mix and cut it all in until the mixture is crumbly and pebble looking. Then, take your starter, half-and-half (or buttermilk), and fresh herbs and garlic and place into the center of the bowl. Mix it together gently. Try not to over-stir it or knead it, being gentle will help produce that flaky biscuit texture. I start with a spatula and then towards the end, I will gently fold it to combine everything. Add a little bit more milk if things are still dry and crumbly.
- Now it is time to roll it out and cut into biscuits! Take a rolling pin and a lightly floured surface, and roll out your biscuit dough.
- Take a small glass and cut out the circles for your biscuits. I used a small juice glass, but you can use whatever you have on hand. I rolled mine out to about an 1/2 inch- 1 inch thick. It can be that or less, totally up to you! Too much thicker would just mean they would take longer to bake.
- Place the biscuits onto a parchment lined baking sheet and put them in the oven for 16-18 minutes, or until golden brown. They should be flaky and delicious right out of the oven!

Leave a Reply