
Have you ever wondered if you could plant a garden from seed? Sowing seeds is actually easy and fun when you have the right materials and a good plan.

This post contains affiliate links, which means I make a small commission at no extra cost to you.
Planting a garden from seed is one of the most rewarding ways to kick off spring! It may seem overwhelming at first, with a few tips, you will be well on your way to starting your garden. I wanted to share a little of my process for planting a garden from seed.
January has become my “buy-all-the-seeds” and “plan-out-what-we-want-to-plant” for the garden. This year, we are planning to do 4-5 raised beds (constructed from old fencing!). I watched some YouTube videos on planning (here), and got to work. I really liked the keyhole garden design from that video. We have done a garden for the last 3-4 years and it is always so rewarding. This will be our first true year planning things out, and I am excited to see where it all goes. To hear more about our story, hop over to my about page!


Purchasing your Seeds
If you don’t have access to a greenhouse, you may have to purchase plant starts for your garden. You could always purchase these from a friend or someone local. There are also places like Lowe’s, Home Depot, and Tractors Supply. Until this year, we had to buy starts for our garden from other sources.
This is the first year we have had a greenhouse! It has been an amazing asset to growing our garden, so I highly recommend having one. I’ve always wanted to plant a garden from seed, but wasn’t sure if I could do it. Last year, I successfully grew over 175 flowers from a seed tray! I didn’t have a greenhouse, so I had to wait until after the last frost to start outside. It was such a beautiful process with many ups and downs. It gave me so much appreciation for the time and work that went into the little baby plants.
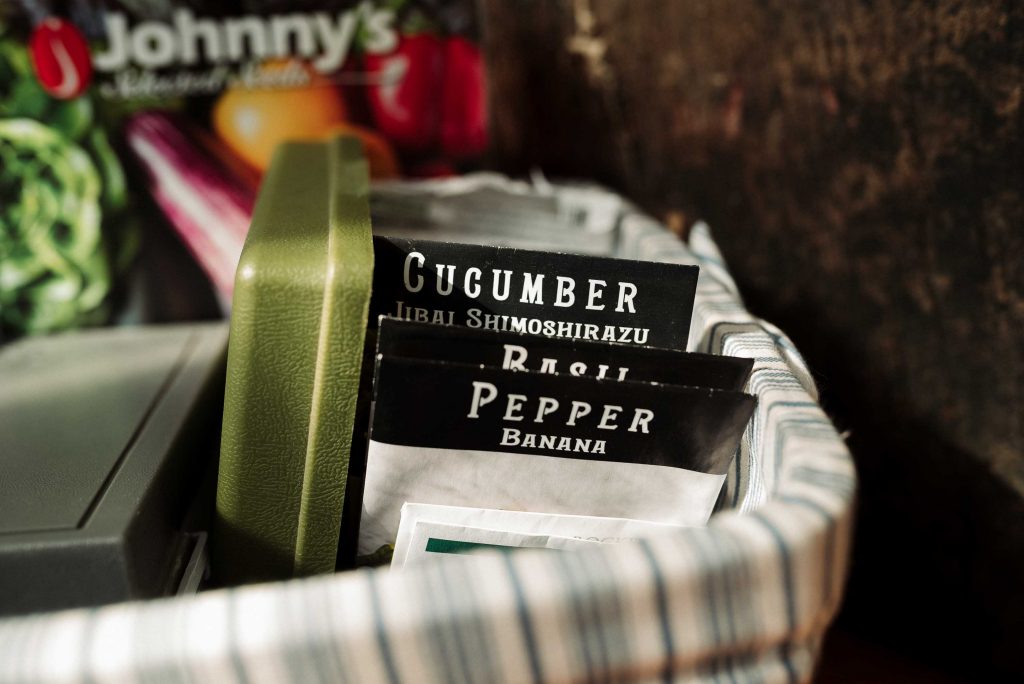
There are lots of places to source seeds, especially online! My personal favorites are Johnny Seeds, Bakers Creek, Sow True Seed, and Floret for flower seeds. Another option is to head to your local library- a lot of times they will have a seed program! Our local program allows you to grab up to 10 seed packets a day! There are lots of options- I would love to hear your favorite seed sources below!

Organizing your Seeds
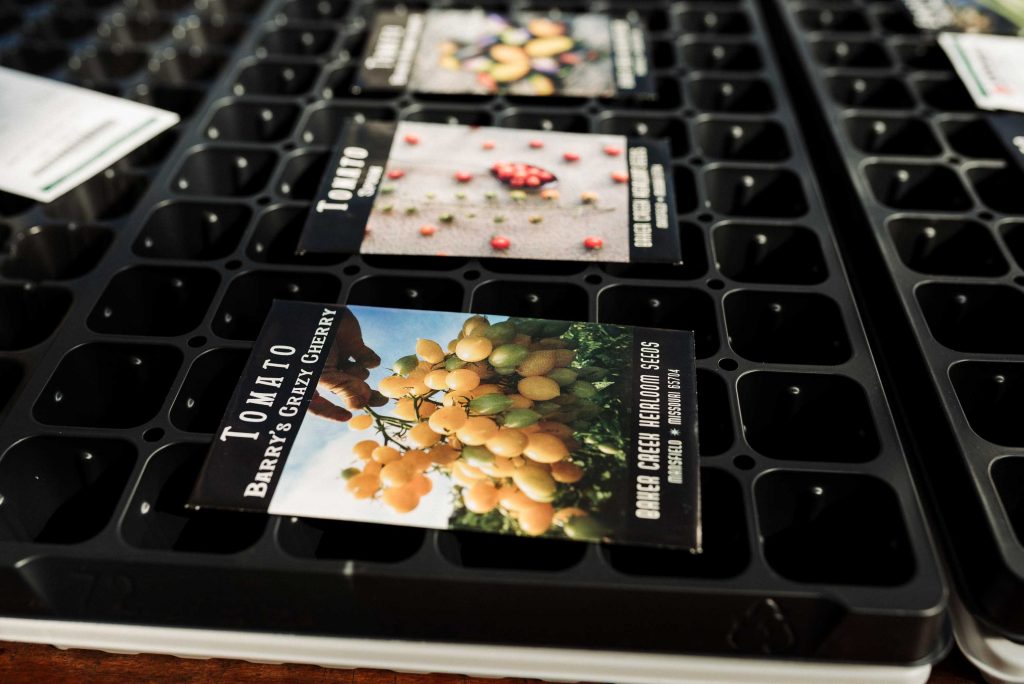
Once you get your seeds, it is time to organize everything! This process was new to me this year, and it was a lot. All of the hard work up front is going to bear fruit for the entire growing season. It will give you the confidence that you are on schedule for everything. I made an Excel spreadsheet, and inserted all of the varieties of seeds with the info from the seed packet. It was an easy printable to print and mark on all season long as I started growing things.

When should I plant my seeds?
After you have allll of the info listed out, its time to put things into your calendar! This has helped me immensely this year. I have a much greater handle on what to start and when to plant out in the garden. It helped with the overwhelm of 50 seed packets scattered around the kitchen table. Being able to look ahead and plan out your growing helps lessen the anxiety of forgetting something.
When you start to input info for the plants, you will quickly realize the reward of planning. Some seeds need to “stratify”, which means they need to be put into the fridge for a few weeks. Others, may need heat maps and specific things to germinate. Planting depth is also key, and some seeds need specific conditions for germination. With all of these specifications, having an info sheet is invaluable.
Where to Start your Seeds
I started some seeds for our garden inside our greenhouse for the first time this year! It was so exciting to be able to get ahead of the curve with growing. A lot of plants like peppers and tomatoes take a very long time to get going. Starting them ahead ensures that you will have some tomatoes before August/September. You also need to check your area’s zone and “first” and “last” frost date. This is helpful for scheduling out when to plant things. Check out this farmers almanac for your specific zone and frost dates!
Our farm is located in zone 7b. I was able to plant peppers, eggplant, cherry tomatoes, and heirloom tomatoes on heat mats in the greenhouse in February! Our last frost date is April 15th, so I am planning everything around that time frame. While I was out planting the vegetable seeds, I was also able to start some yarrow, poppies, snapdragons, and lisianthus! Our greenhouse is exploding with little seedlings right now, and it feels so exciting.
What should I start my seeds in?
You also need to have something to grow your seedlings in. I prefer 72 cell flats, but that will yield a LOT of plants. So, it really depends on what you are growing, and how much. I found that seed kits are super helpful if you are just getting started. You need the cells, bottom trays, and humidity domes. I personally started with this one! It is definitely a lesser quality than others, but it came with heat maps and I like that you could take out the seed trays if you needed to. This year, I ordered this set from Johnny’s and I love it. I will probably continue purchasing supplies from them.
You can also research things like grow lights if you want to start the seeds inside on shelving! There are truly so many ways to do it. Some people like to use old egg cartons, toilet paper tubes, or disposable cups for starting their seeds. These peat pod cups are also fantastic. I am using these to transplant things like tomatoes and peppers into before they head out into the garden. My sister likes these seed pods, and these do make it easy to plant right into your garden.
Planting your Seeds
After getting all of your supplies together- its time to plant your garden from seed! Grab a bag of seed starting soil, throw it into a bucket with some water, and give it a stir. Gently wetting the soil really helps the seeds ease into the growing process. Scoop the moist soil into the cells, and get your sharpie and tags ready. Be sure to label what seeds are going into which rows. After you plant them, you might forget where everything was! I just did a label for each vertical row. That way you don’t have to label each individual 72 cell pod.
After you plant your seeds at the correct depth, put on the humidity dome and step back to the waiting period. A lot of my pepper and tomato seeds took 10-14 days to germinate and come through the soil, and that it normal! Just be patient as they grow. Be sure to put the trays on heat maps if needed, and write down all that you accomplished. You will look back and be proud of your hard work when you plant all of your vegetables into the garden.
I hope this helped someone gain some insight into what all it takes into starting seeds for your garden. A lot of seeds like a long time to germinate and take off. I found myself holding my breath, hoping for the best for these little plant babies. The anticipation and joy of seeing little seedlings poke through after days/weeks of waiting is unlike anything else! Let me know in the comments what zone you are planting in, and what all you are looking to start from seed this growing season!


I love gardening! Growing from seeds brings so much joy. I want to grow flowers from seeds this year. Thank you so much for sharing!!!
You should try growing flowers, it is just the absolute best! There’s nothing like fresh blooms in the middle of summer.
I would love to hear more about the building of your greenhouse! I start all my seeds in my basement–in a “temporary” planting space that has been there for 5 years now. Hubby is on board to help me build a greenhouse so we can move the mess out there, and to reclaim the basement. I just have to come up with a plan for a greenhouse and start buying building materials. It appeals to me to look for gently used windows and use them for the walls of the greenhouse. Is that what you did? We will build a lean-to greenhouse, on the outside wall of an old metal shed that we have. We live in Nebraska, in zone 5. Any greenhouse-building tips?
I am actually doing a big greenhouse post this coming Thursday (3/17/22)! I would look at your shed and see which direction faces south, you will want a south facing greenhouse to maximize light! We used old windows and framed them into the side of our barn. It has been so amazing! It *does* get very warm in there, so it is also good to have a built in option for vents and a fan! Even in February/March, we have to open the doors each day just to get airflow in there, because on a 60-70* day, it can get up to 95-100* in there! So temperature control is another thing I would consider thinking about. But keep an eye out for that post on Thursday, I’ll be covering what all we did and what’s to come with it!